

Updated instructions:
| Subject | Category | Modified | |||
| System Controller Exchange (EPC TIM) | Training System Controller System Software EPC | 01/20/2016 | contains illustrations |
Cassini System Controller Exchange
Once the System Controller has been confirmed faulty, it should be removed while the system is powered down. If a Fixture is attached, remove the Fixture before powering down and removing the System Controller. Close any running applications and shut down the OS. If the OS is not shutting down, press CTRL+ALT+DELETE then select RESTART. When the OS shutdown is complete, the system controller is designed to restart automatically. Immediately switch the "Main Power" to "OFF" position to complete the shutdown procedure while the system is restarting. Do not switch the "Main Power" BEFORE the system has completely restarted and is in the process of booting. Don not turn the power off once the desktop is visible, it is too late and the shutdown process should be attempted again.
Cassini 16
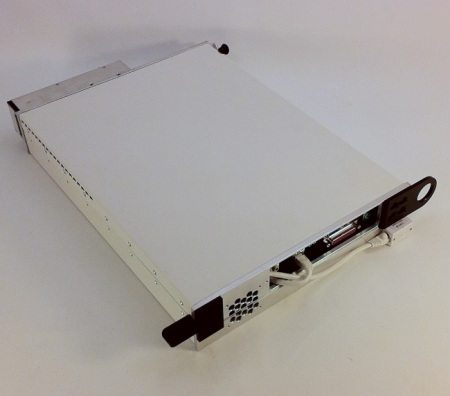
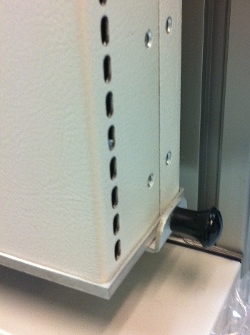
Simply pull the knob at the bottom of the System Controller to prepare it for removal. Remove the module by securely grabbing the module's side, then pulling the upper handle to release it from the docking interface. Once it has been removed, carefully unplug the keyboard, mouse, monitor, network and any additional cables and remove the "Guru ID" USB dongle. The Guru ID is used to identify the new hardware and quickly restore the entire environment from the Guru Server.
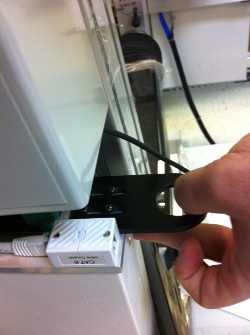
Attach the Guru ID USB dongle, keyboard, mouse, monitor, network and any additional cables before installing the replacement System Controller. Once the cables are secure, slide the System Controller with cables up into the infrastructure cavity and then slide the System Controller into the slot until you hear a click. Then push in the bottom handle to lock the System Controller in place, steady force may be necessary.
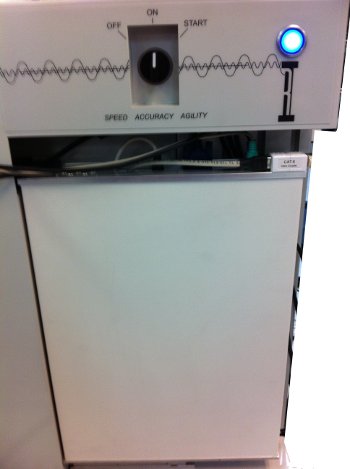
Turn the top panel switch to START, then release to ON position to start the new system controller. Any custom network settings (default is DHCP), network drive mount settings or other OS customization (like VNC, 3rd party non-Guru applications) can be performed. If a Guru Server is found via "Guru Auto Discovery (R-SLP)", the Login button will turn green and you can login with any user and continue testing. If the Login button remains grey, then you must log in with "DefaultUser" and password "Roos", then add a Update/Backup Guru with the Guru Address Book and "Shutdown" Guru to reload the settings. Optionally, once the System button turns green, use "System | Restore" to retrieve the latest guru objects that were created on the machine before the swap. The first time any program is launched, it will retrieve its latest version from the Update Guru.
Small and Large Cassini
The System Controller is mounted inside the Infrastructure rack with screws. With the power off, locate the system controller by opening the back door, disconnect the USB dongle, keyboard, mouse, monitor, network and any additional cables and cables and slide the system controller out of the rack. Replace and reconnect all the cables.